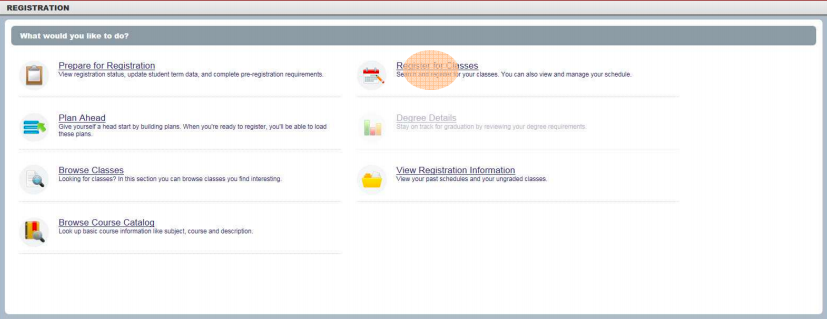
Undergraduate Student Registration Instructions
Create a Registration Plan Using Plan Ahead
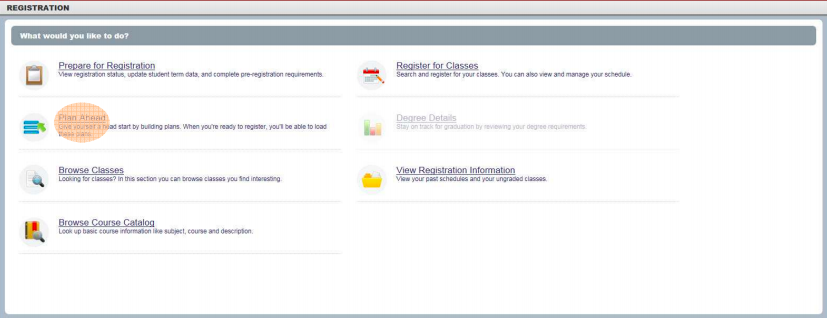
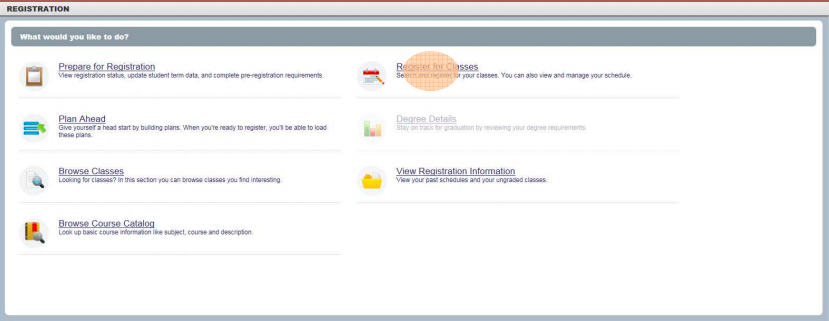
Registration Options
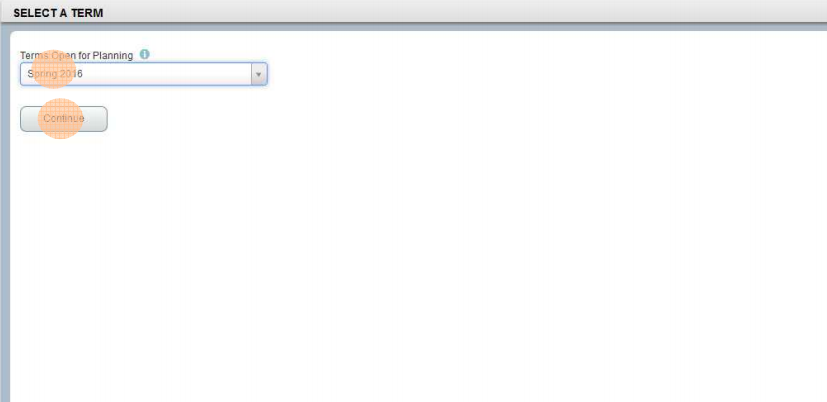
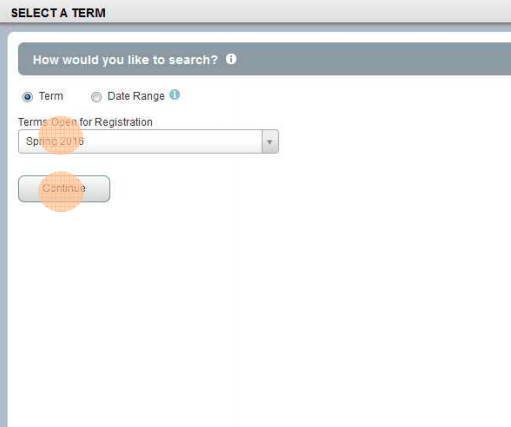
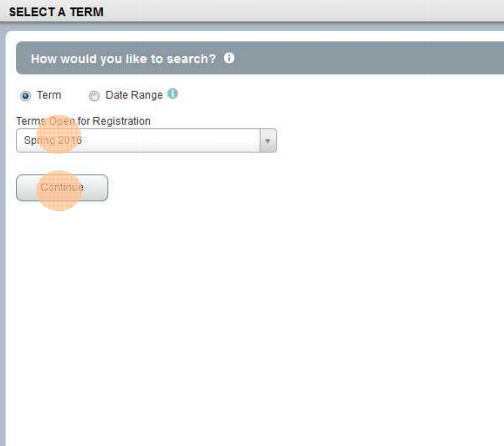
Select a Term
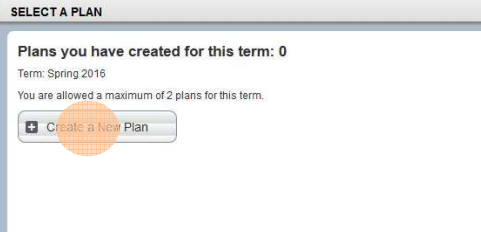
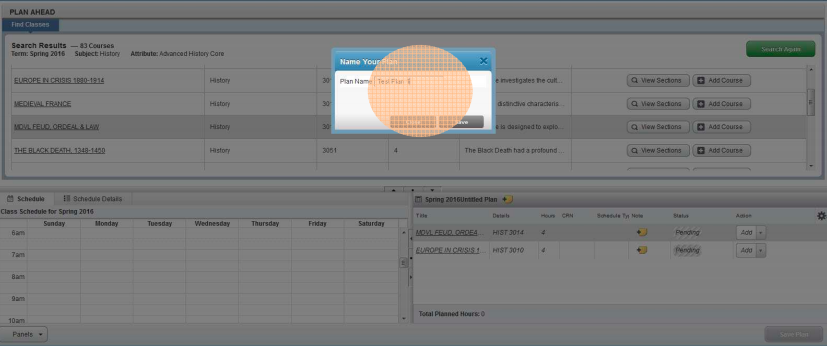
Select a Plan
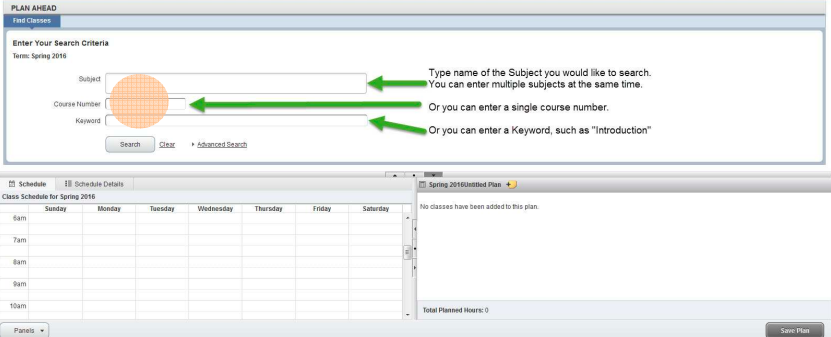
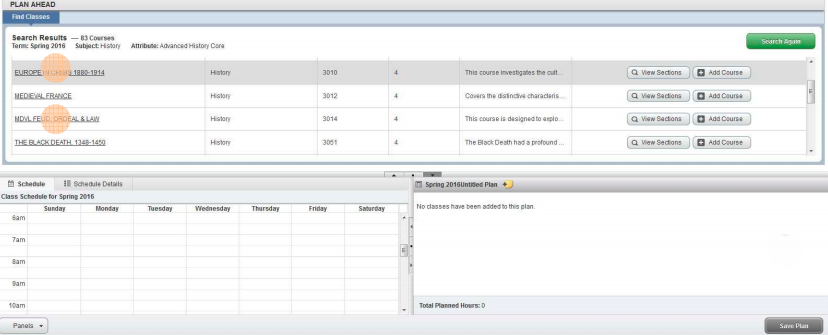
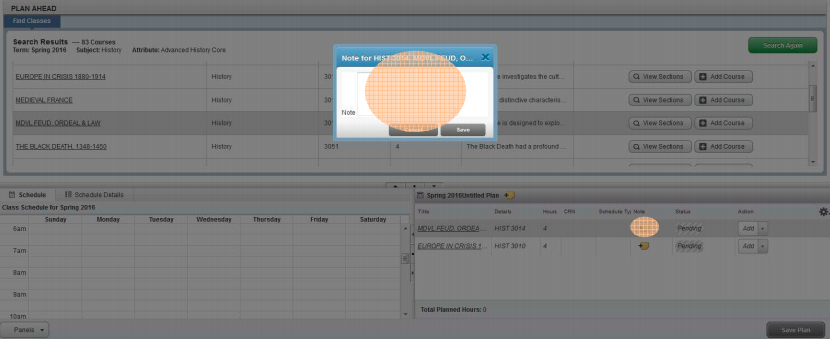
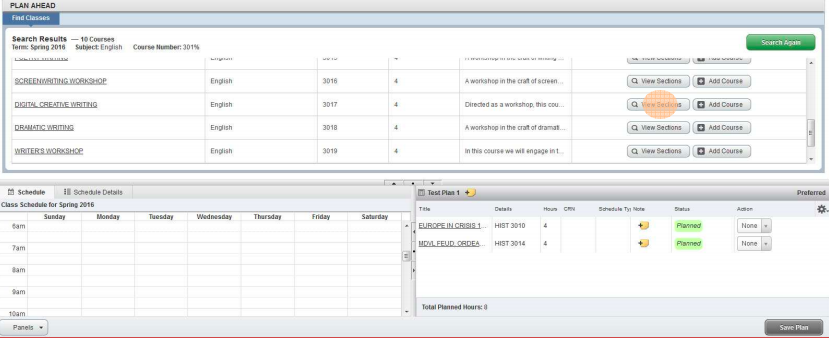
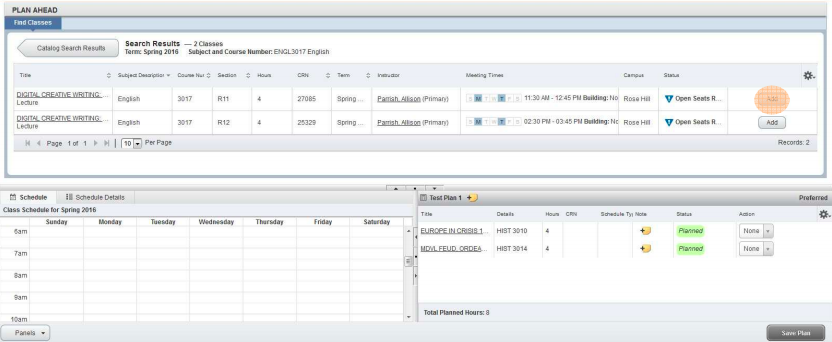
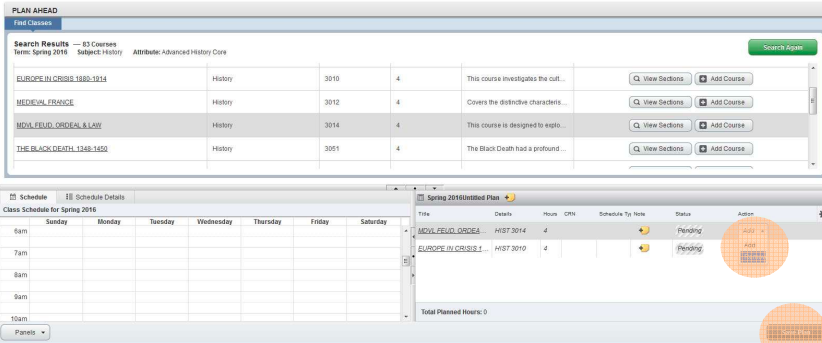
Searching for Courses
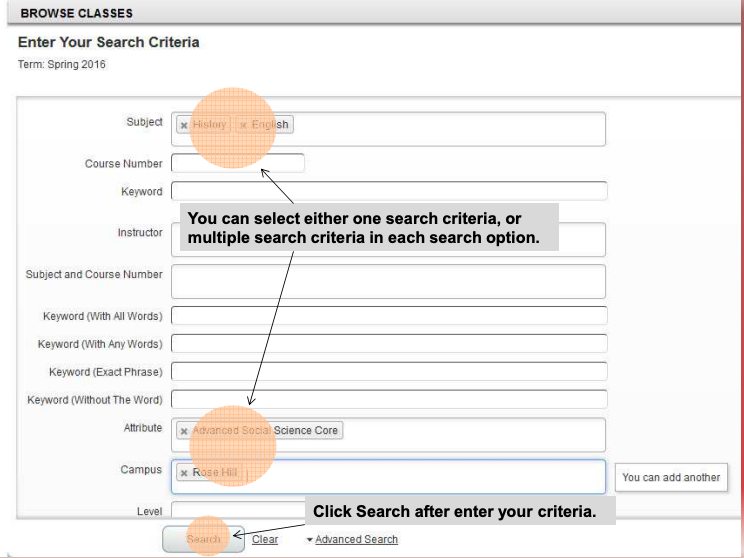
Advanced Search
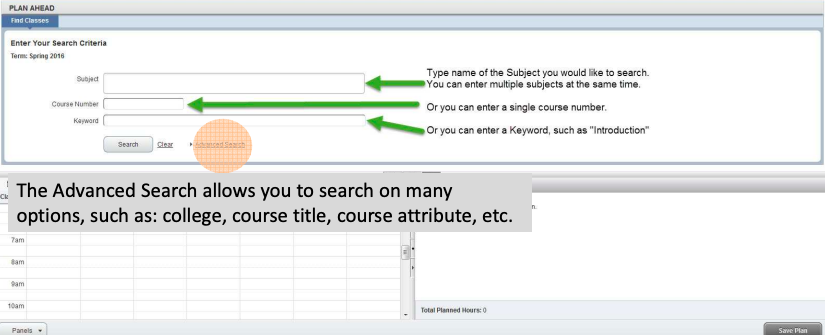
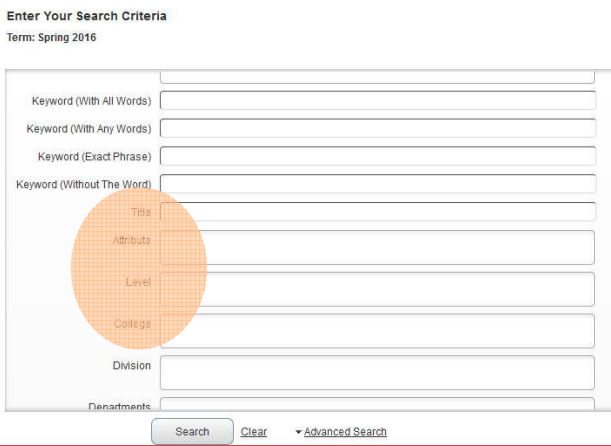
Search Criteria
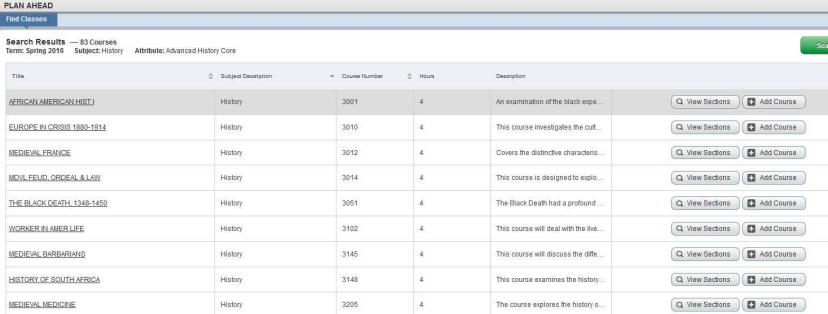
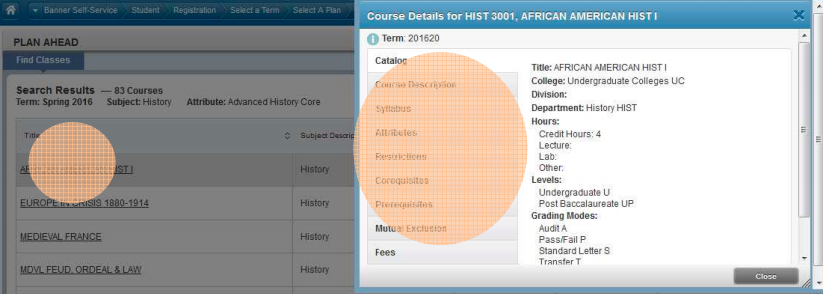
Note: Your Plan Ahead search results will look slightly different than if you searched using Browse for courses.
Courses that appear here are from the bulletin, and may not necessarily be offered in the term for which you are planning.

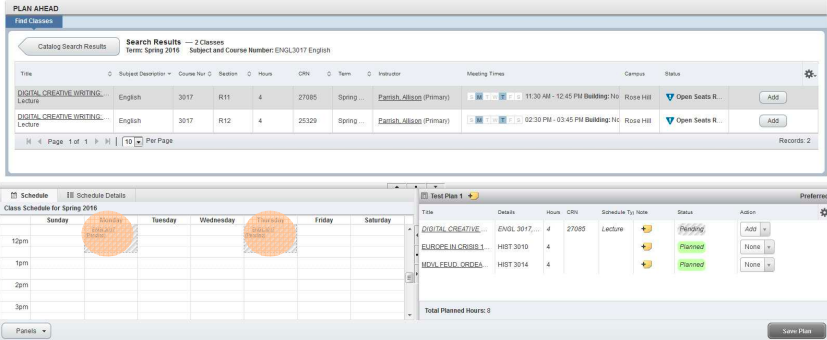
Register for Courses using Plan Ahead
Registration Options
Select a Term
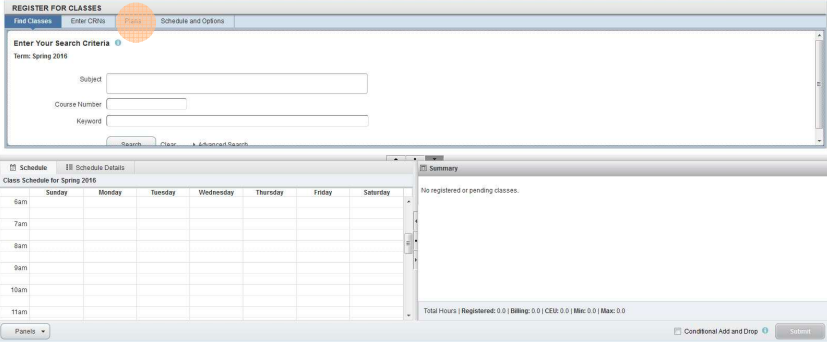
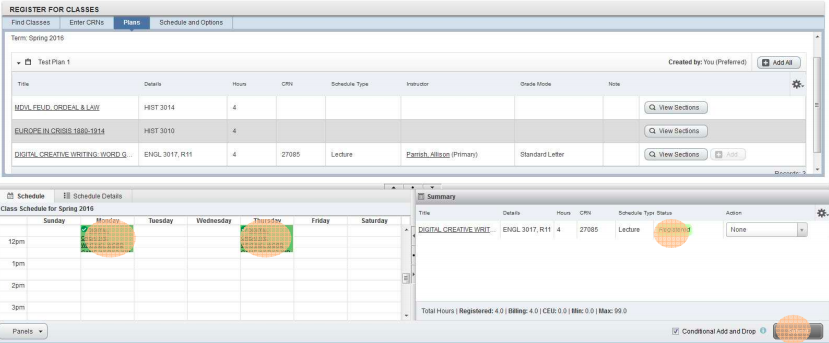
Register for Classes
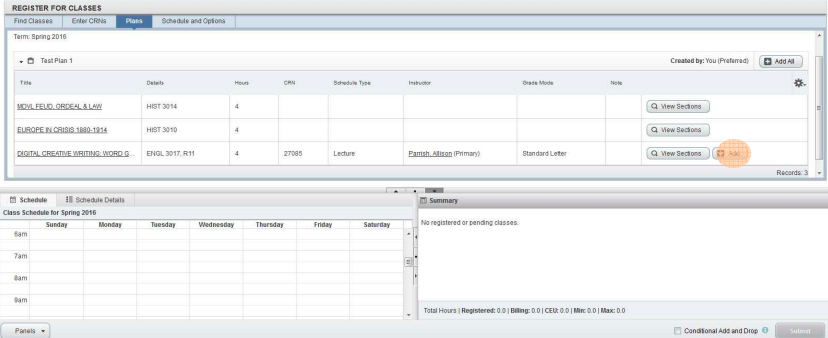
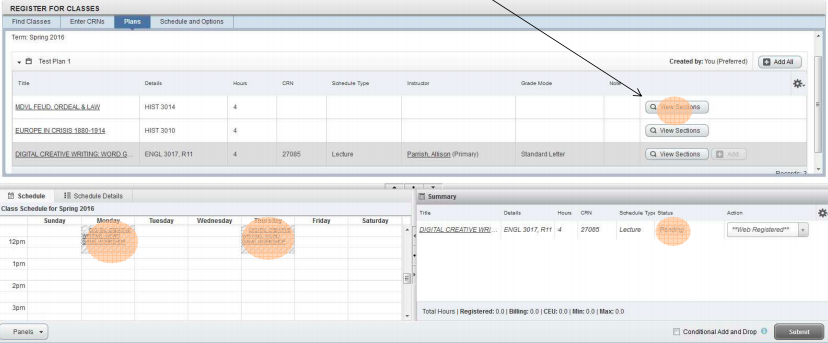
Note: You can also select View Sections for courses that were saved to your Plan without a section.
To see how to register for courses from a section search, see Register for Classes Directly.
Be sure to pay attention to the meeting days, times, and locations of your selected courses.
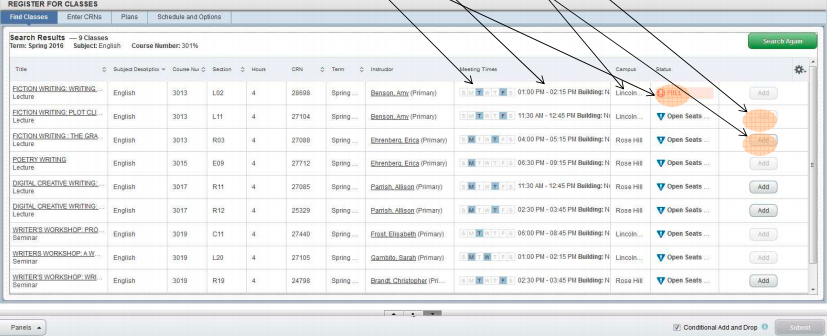
Register for Courses Directly
Registration Options
Select a Term


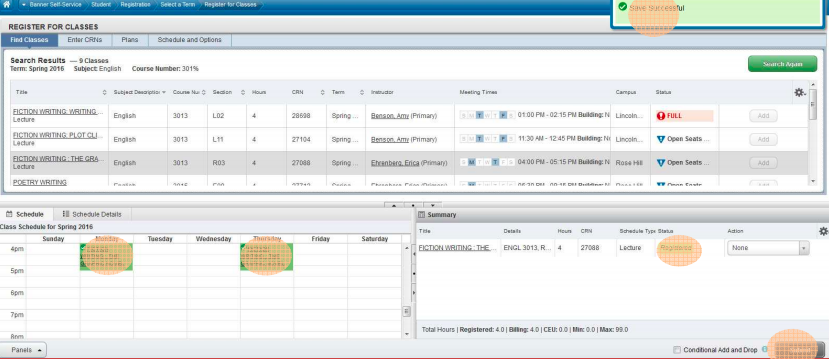
Note: If you are making changes to your schedule, make sure that Conditional Add and Drop is checked.
This will ensure that you do not lose your seat in the course you are dropping if you are unable to add a new course.

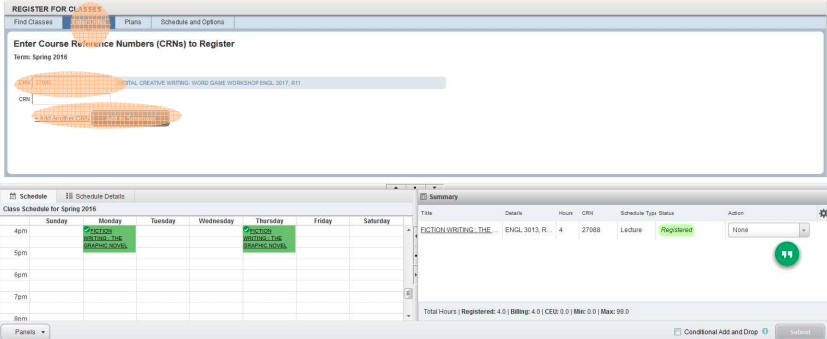
Note: To add multiple CRNs, click +Add Another CRN. After you have entered all of the CRNs, click Add to Summary.
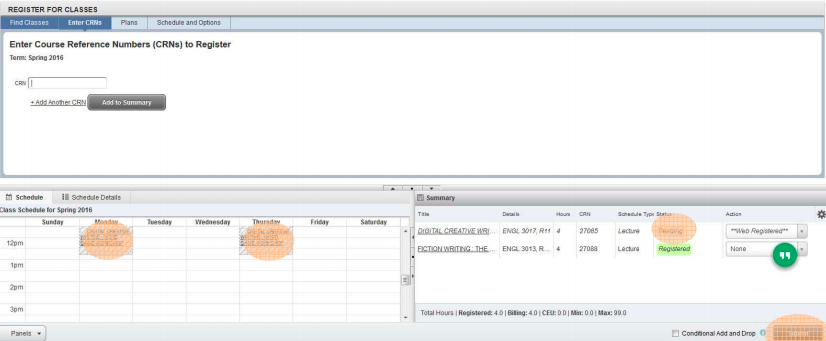
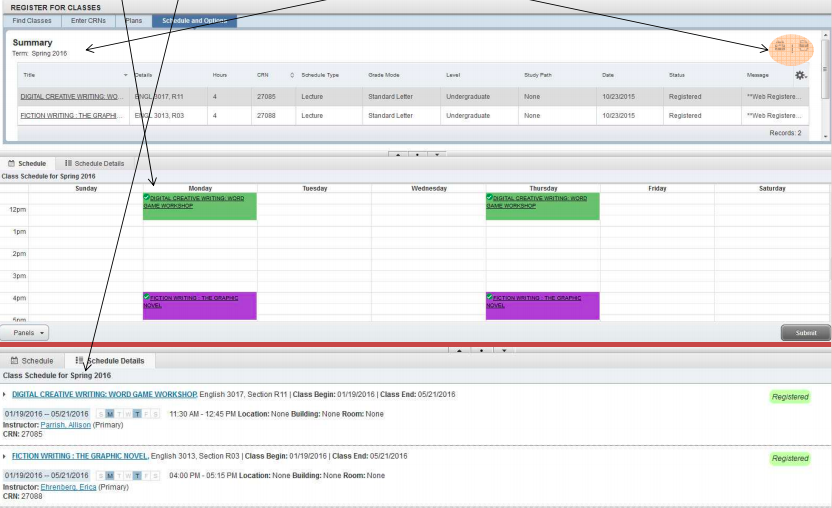
Note: You can view your schedule in Summary, Graphical, and Detail formats.